
User guide

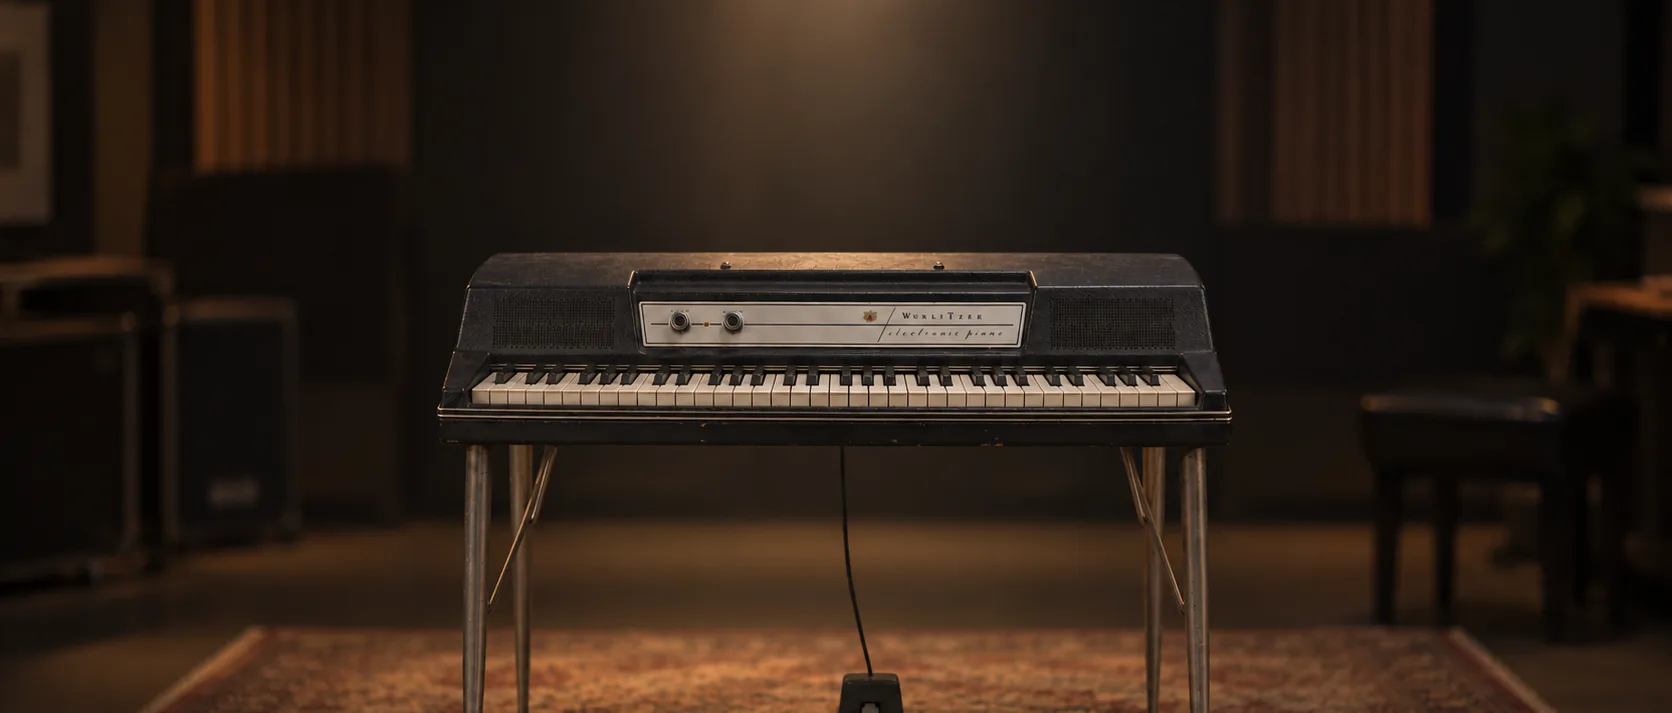
Sampling/modeling hybrid recreation of the legendary Wurlitzer 200© and 200A Electric Piano.
Overview
SAMPLING MEETS MODELING
Interface
Features
Pure Wurlitzer© sound, uncompromised playability
How does sampling + modeling work, and why does it sound so natural? Read sampled, modeled or hybrid.
More about this
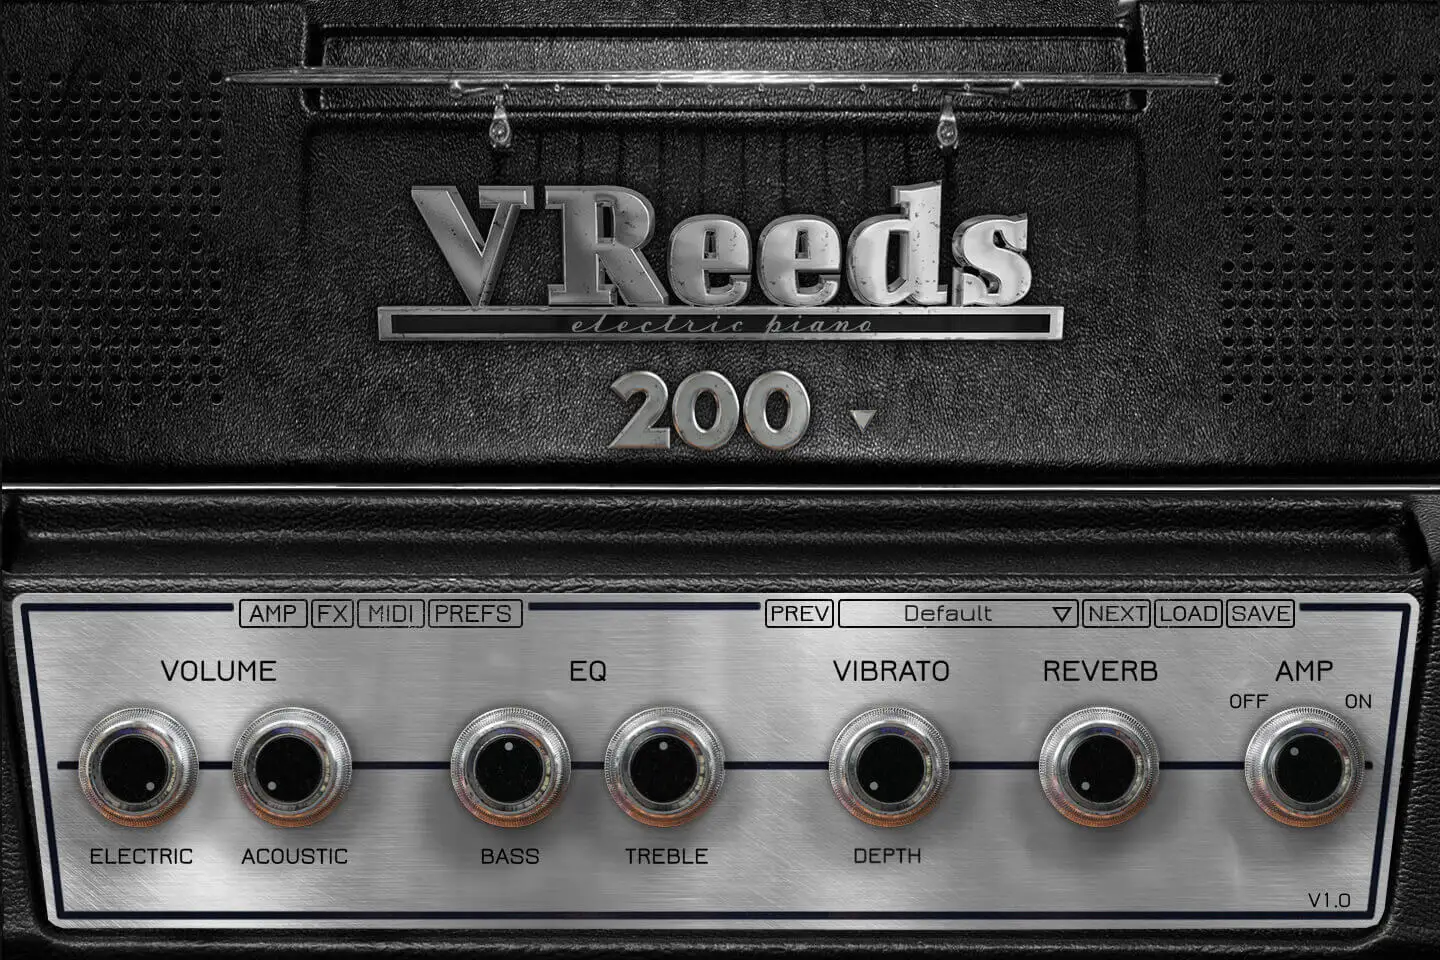
Front panel
You can mix the acoustic signal (we had a mic pair right over the Wurlitzer capturing the real acoustic sounds of the keys and Reeds) and the DI Electric signal.
You can control a simple EQ with Treble and Bass.
The vibrato has two controls, the depth and the speed (just click on "Depth" to access the speed adjustment. We carefully reproduced the shape of the original vibrato circuit. On the original 200, the vibrato rate is fixed, but there is a common mods on Wurlitzers that we included as well, plus we added a tempo link.
We added the very common reverb FX to the front panel. You can control its amount from here but if you want further adjustments, you need to go to the FX page.
You can also engage the AMP simulation from the front panel (you need to click on it just like on a button). Again for further adjustments, you need to use the AMP panel.
You can also use one of our presets from here as well as save and import yours.
Vibrato FX - EQ
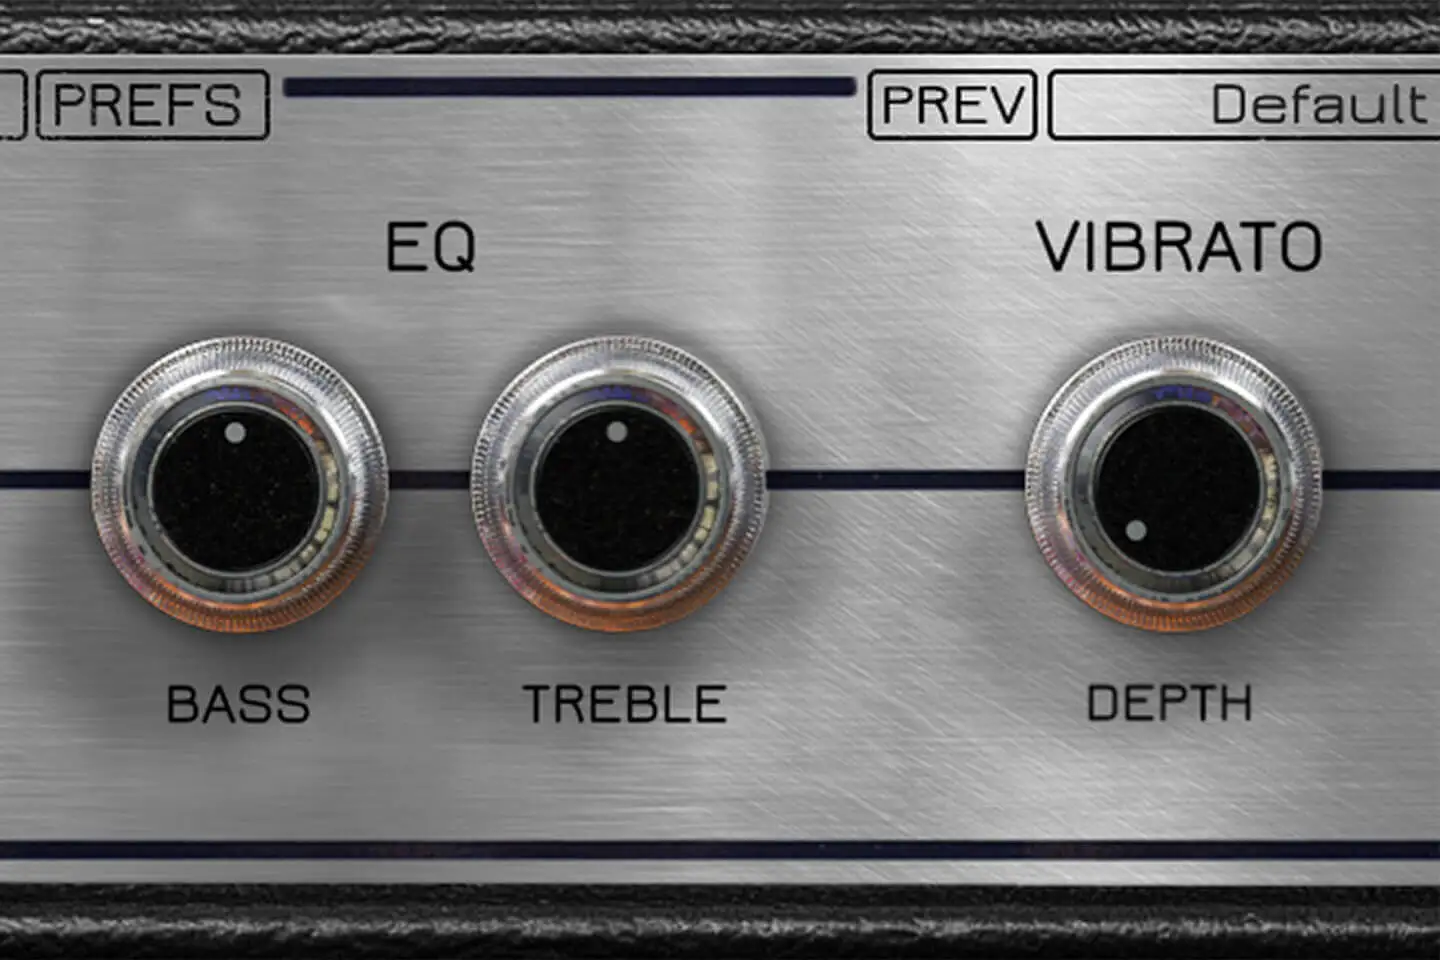
The Wurlitzer sound is most of the time associated with the vibrato.
We carefully reproduced the shape of the original vibrato circuit. On the original 200, the vibrato rate is fixed, but just like the very common mod, we decided to extend the vibrato capabilities and add a rate control which can be linked to the tempo.
There is no EQ on the Wurlitzers, but it can be useful to just have one accessible quickly on the front interface.
Speakers
More about this
AMP panel
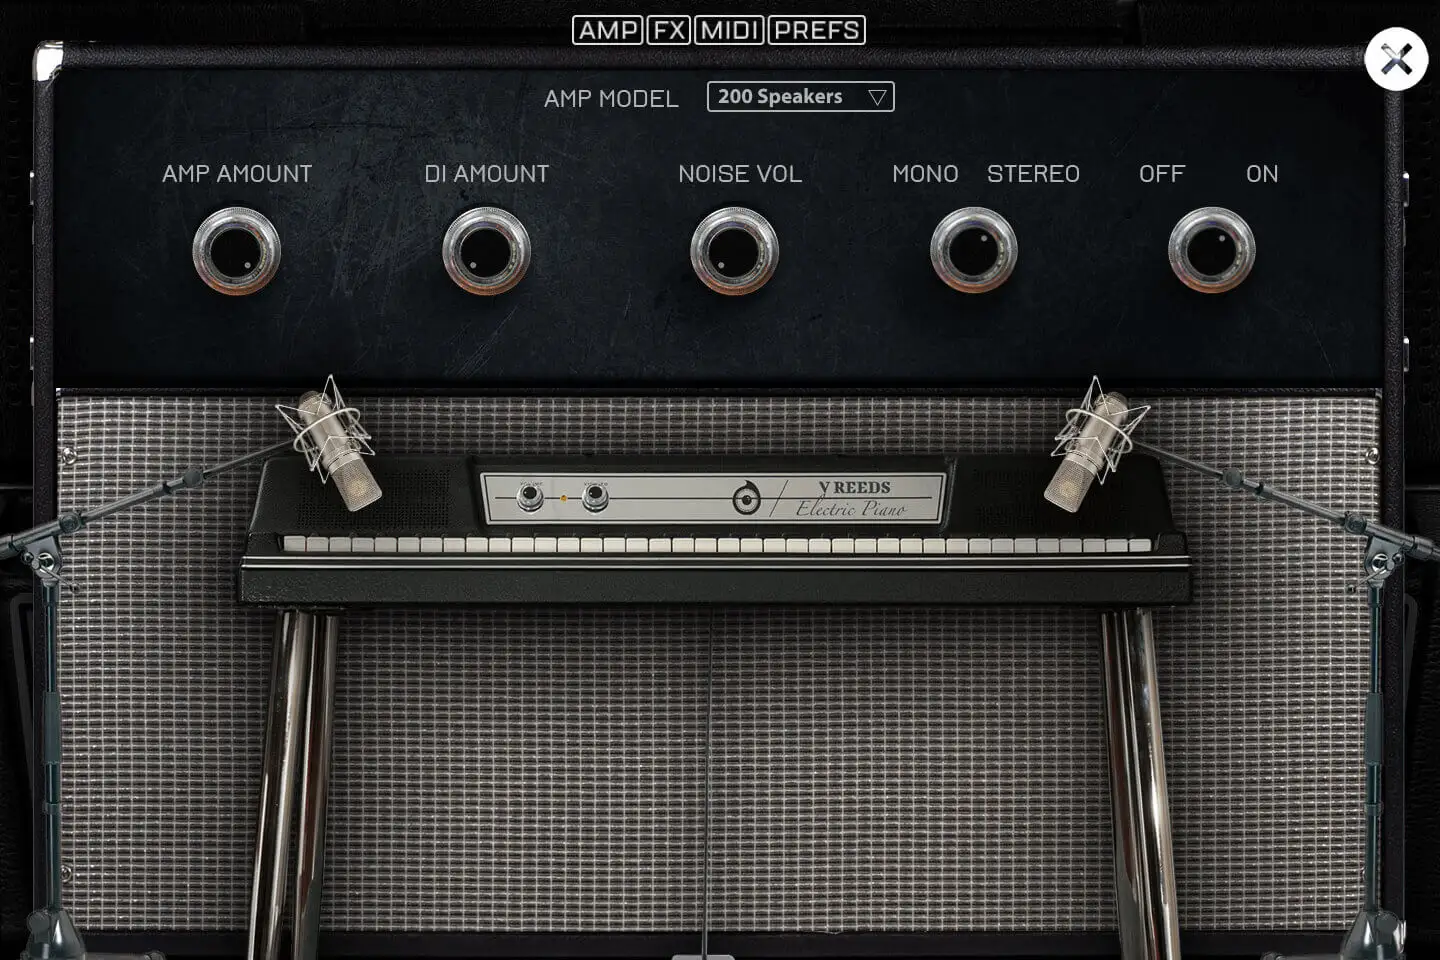
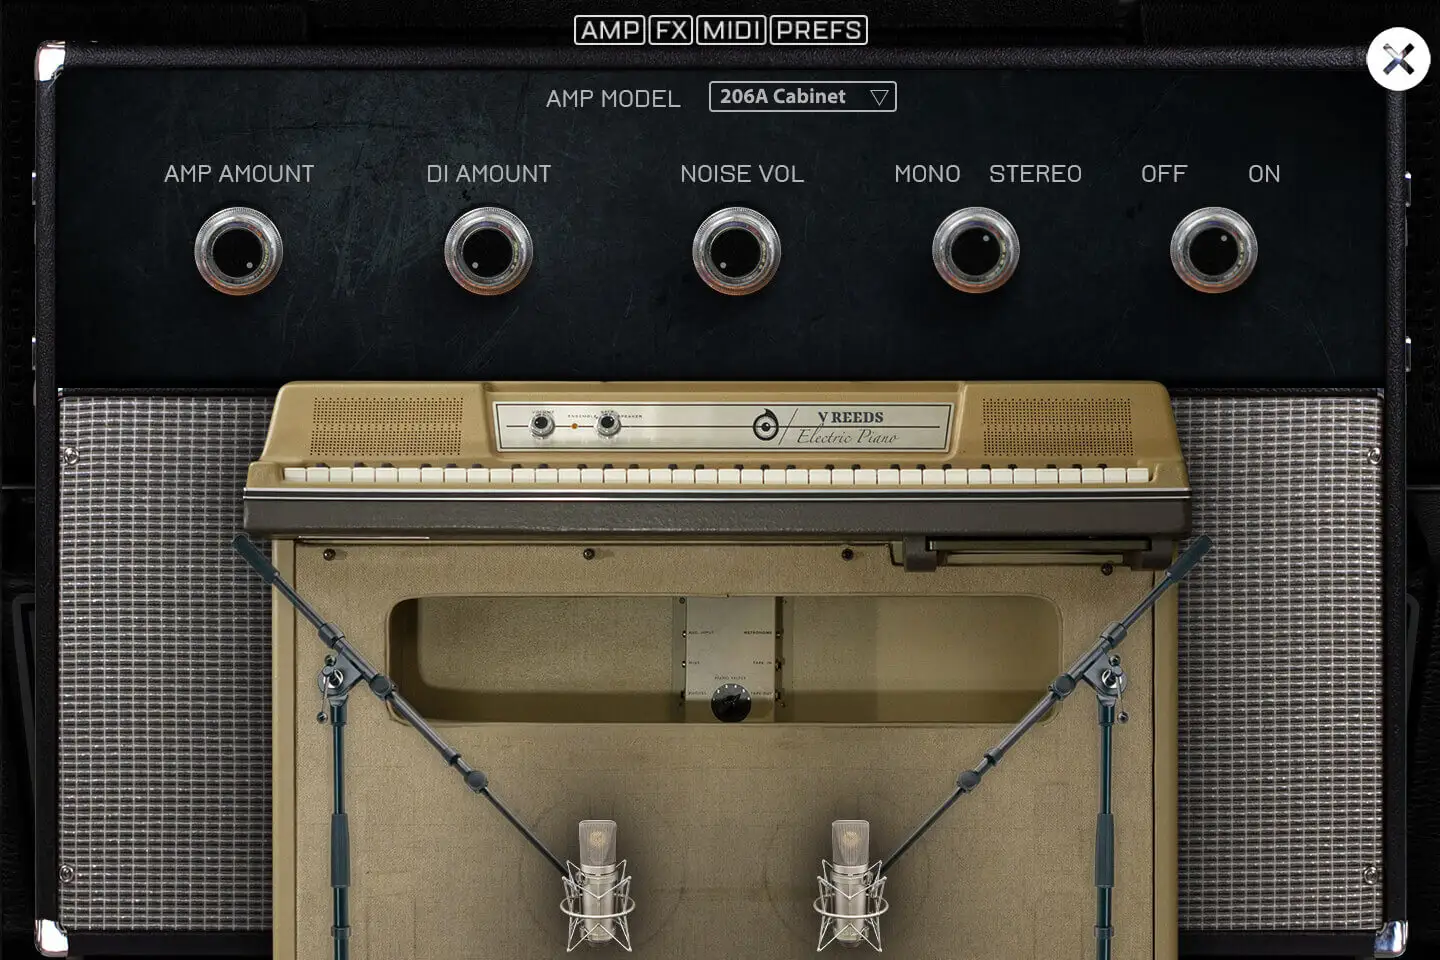
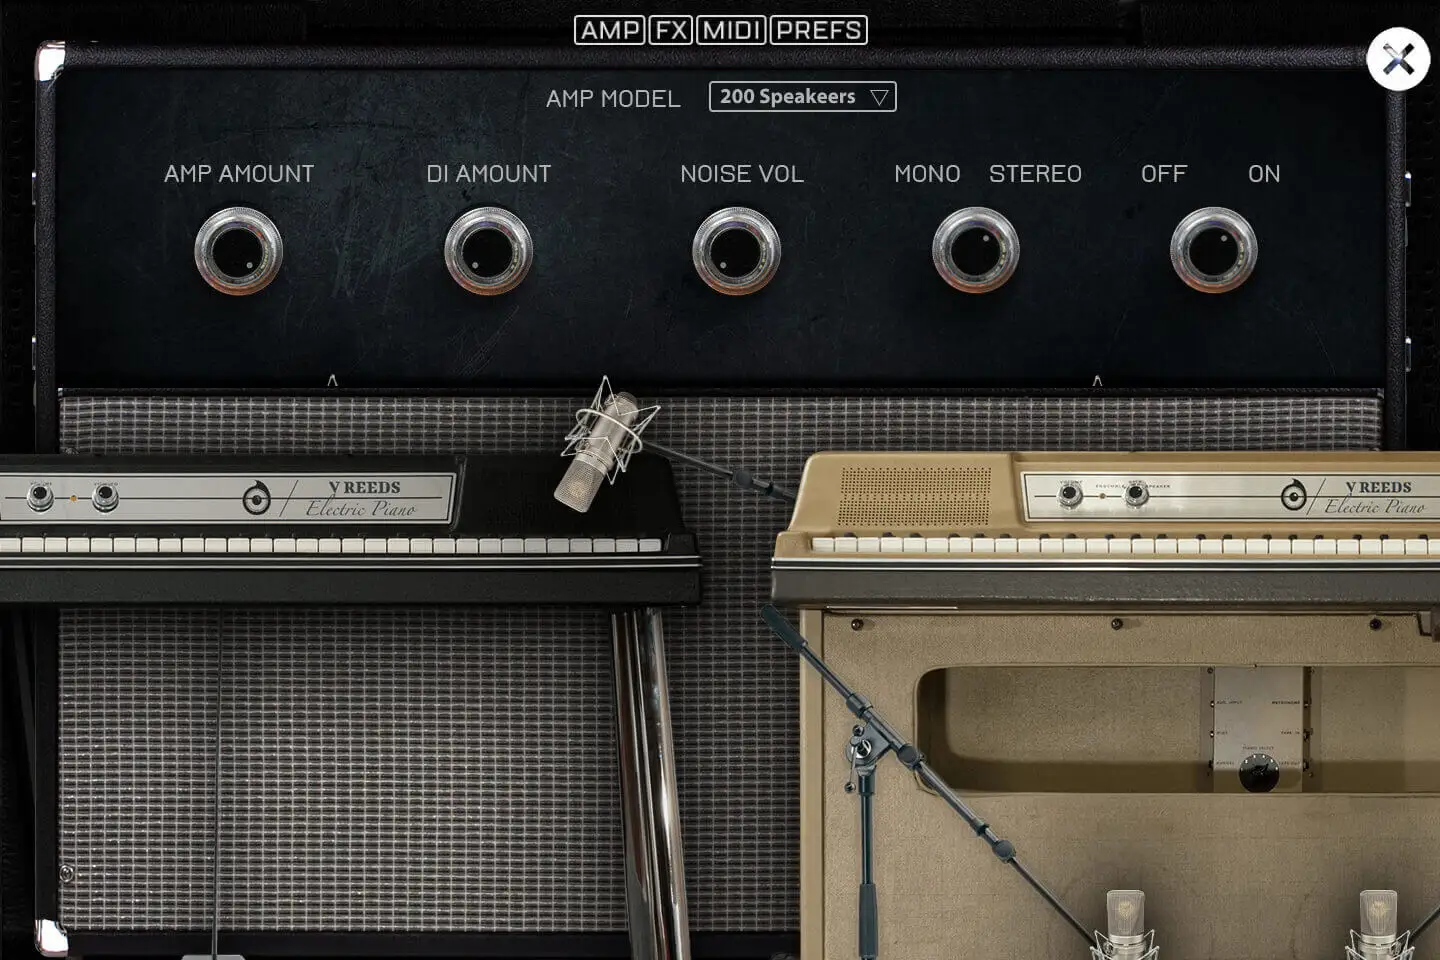
There are 4 amps to choose from: the 200 built in speakers, the 206A cabinet, a rhodes amp (taken from the VTines library) and a Twin Reverb amp.
These AMPs are noisy, and there is no way around it, so we added an AMP noise button so that you can get some noise from the VReeds as well.
As the Wurlitzer is sometimes recorded through the DI and through the amp as well, you can control both amounts as well.
FX Pedalboard
More about this
FX panel
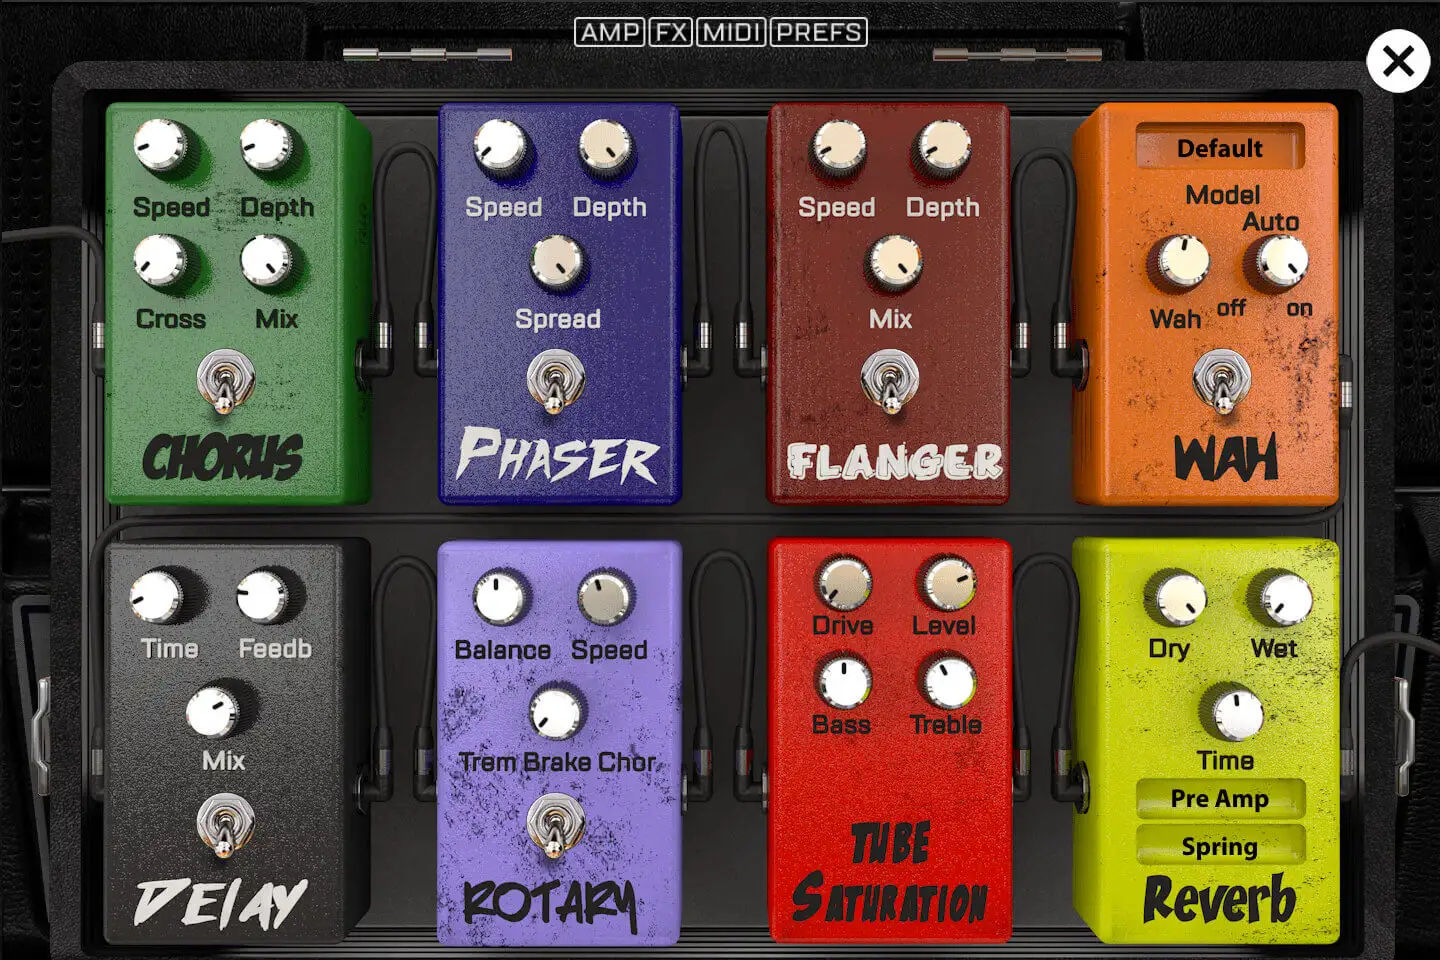
There are 8 FXs on the FX panel:
1- Chorus: based on Torus and you can control the Speed, Depth, Crossover and MIX of it.
2- Phaser: based on Phasor and you can control the speed, the depth and the Spread.
3- Flanger: based on Flanger and you can control the speed, depth and Mix.
4- Wah: based on the WahWah fx and you can use a few different models, have it on auto (by default) or control it using an expression pedal.
5- Delay: based on an Analog Tape delay and you can control the Time, the Feedback and the Mix.
6- Rotary: based on the Rptary effect we used in the B-5 Organ. You can control the Drum/Horn Balance, the Speed of the tremolo or set it to the 3 different speeds. When it's on, it will bypass the Suitcase AMP.
7- Saturation: based on the same Tube saturation used in the B-5 Organ, you can control the drive, the level and also the Bass and treble amount to somehow control which frequencies will be saturated. When set to 0, it is bypassed.
8- Reverb: based on the convolution reverb, you can use wether a String reverb, a plate reverb, or a real room ambience. You can control the time and the dry and wet parameters. Plus you can also use it before the amp like on a live session, or after as if you were adding it to a track in a sequencer. When set to 0, it is bypassed.
All of these fx come pre-amp except for the Reverb that can be set post-amp which can be useful if you want to make it sound like it is often set up on records.
Precise adjustments
More about this
Preferences panel
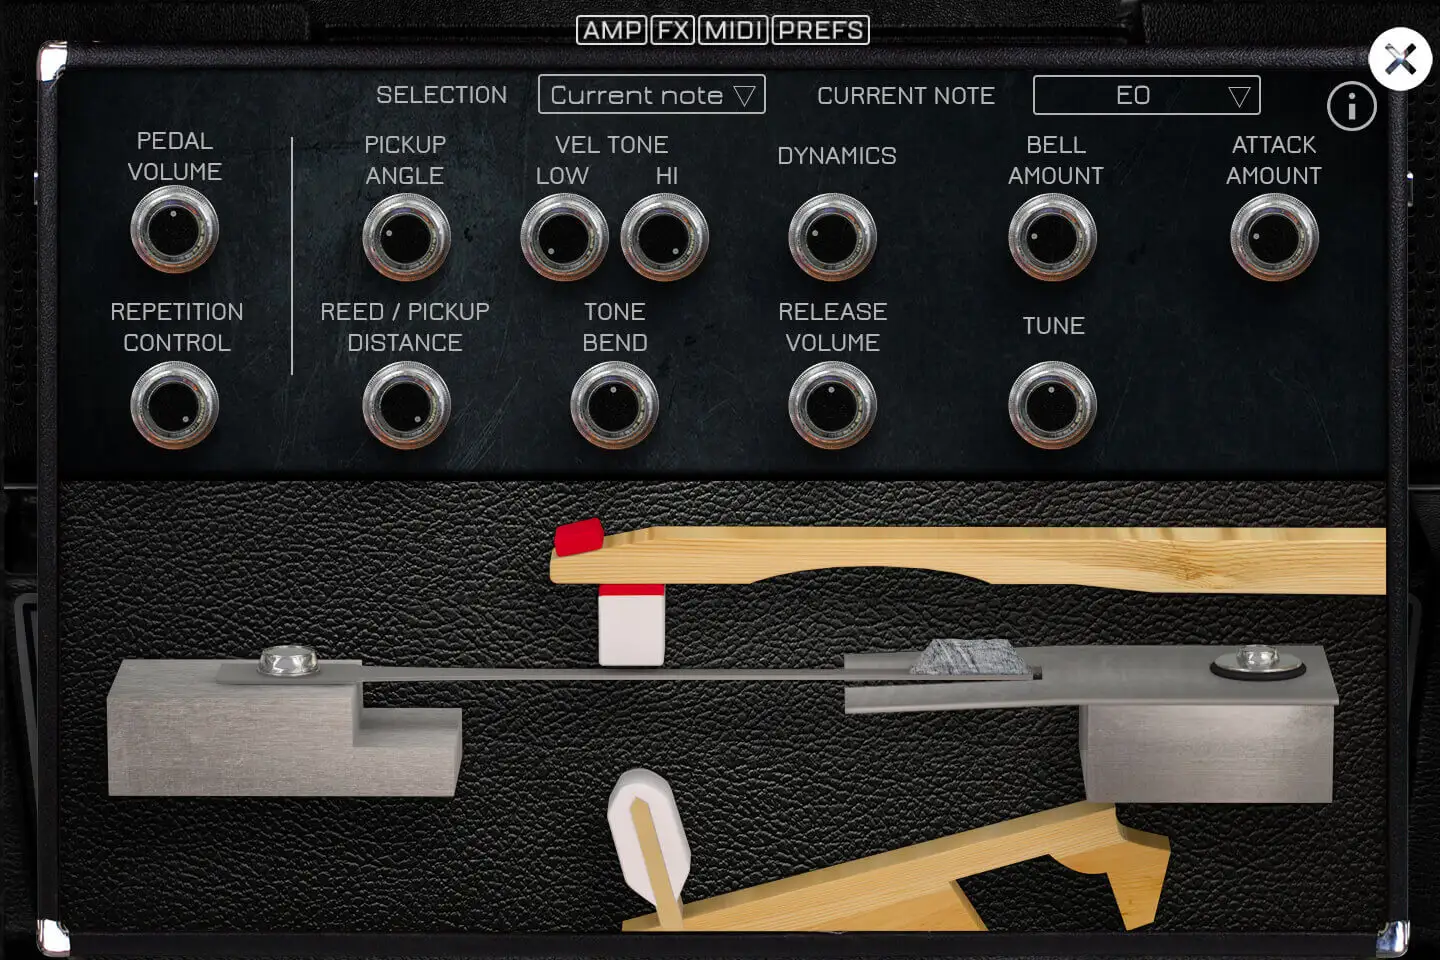
On this panel, you can adjust many parameters to shape the sound of the VReeds. Here is what each parameter does.
There are only two parameters that are adjusted for the whole library:
1- The pedal volume controls the volume of the sound made by the pedal when you press and depress it.
2- The repetition control is an effect that happens only on pedal down. When you repeat the same note over and over again with the pedal pressed, the notes don't just stack up, but sometimes they get morte or less cancelled. We created an accurate model of this effect and were abel to reproduce it. That control will control the amount of that effect.
The rest of the parameters can be adjusted independantly for each note. By default the selection is set to current note, and any change on the parameters will only be applied to the most recently played note, but you can have it affect all notes, or you can select "note by note" to modify the parameters using a curve.
a- The pickup angle is the second component used on a real rhodes to voice it. The angle will completely change the tone and amount of overtone. Setting it very straight will give you the maximum overtone and bending it will lower the overtone.
c- Reed/Pickup Distance: The distance between the tine and the vibrating tine controls mostly the overall volume of the corresponding note. This, just like on a real one, will help voice the rhodes with more or less Bass and Treble at the note level. In reality, it also controls changes the angle made with the tip of the pickup so it influences the amount of bark and other parameters, but for the ease of use, we limited that knob action to just the volume.
d- The Hi Vel Tone controls how much overtone there is in the highest velocity. The Low Vel Tone controls how much overtone there is in the lowest velocity."
MIDI Control
More about this
Technical specifications
UVI Player v3.0.0 is required for the library to function properly, the VReeds will not work on windows XP, or OSX 10.6, it will not work on a Receptor either.
The distributed library is 70Mb compressed in lossless flac format (this includes two models: a 200 and a 200A, retina graphics and presets), the overall equivalent wav file size is about 315Mb.
- Sampling and modeling hybrid of two Wurlitzer© models: a 200 and a 200A
- Full continuous velocity
- Perfect staccatos and release samples
- Around 35 high quality presets
- Fully customizable instrument to match any real life Wurlitzer voicing and adjustment.
- Precisely measured Vibrato effect
- Different Wurlitzer© AMP simulations: 200 speakers, 206A Cabinet, plus a Fender Rhodes© suitcase amp and a Twin Reverb© amp
- FX Pedalboard with 8 high quality effects
- Completely adjustable MIDI response
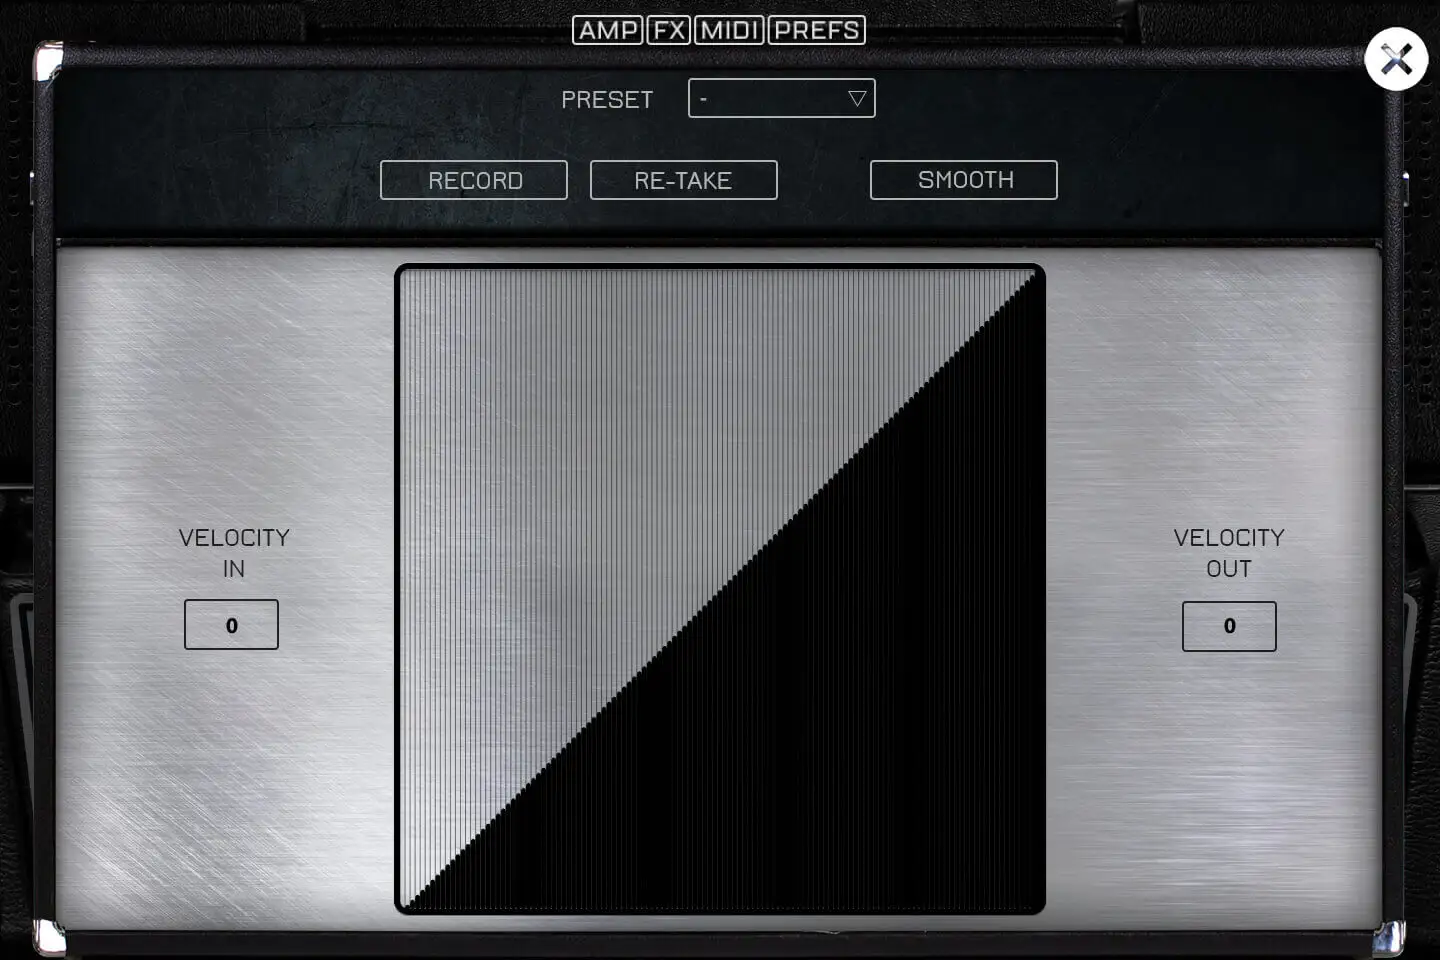
- Auto keyboard velocity adjustment tool
Sample player
VReeds plays in UVI Player (formerly UVI Workstation), UVI's free sample player. We provide it with every library you buy, so you don't need an expensive sampler to use our products. It works on Mac (macOS 10.14 or later, Intel or Apple silicon) and Windows (10 or later), standalone or as a plug-in (VST / VST3 / AU / AAX), in 64-bit only. More about it here.
Copy protection
We use the iLok system to protect our products and you can choose to register your license to your computer or to an iLok dongle. If you decide to use an iLok dongle, both V1 and V2 are compatible with our products. You can activate your license on up to 3 computers or iLok dongles at the same time and you can deactivate one and activate another as many times as you want.
Video tutorials
- Overviewyoutu.be/DkIhZUrPa1g
- Overviewyoutu.be/DkIhZUrPa1g
- Real/VReeds Comparisonyoutu.be/H9wIUdYcYKY